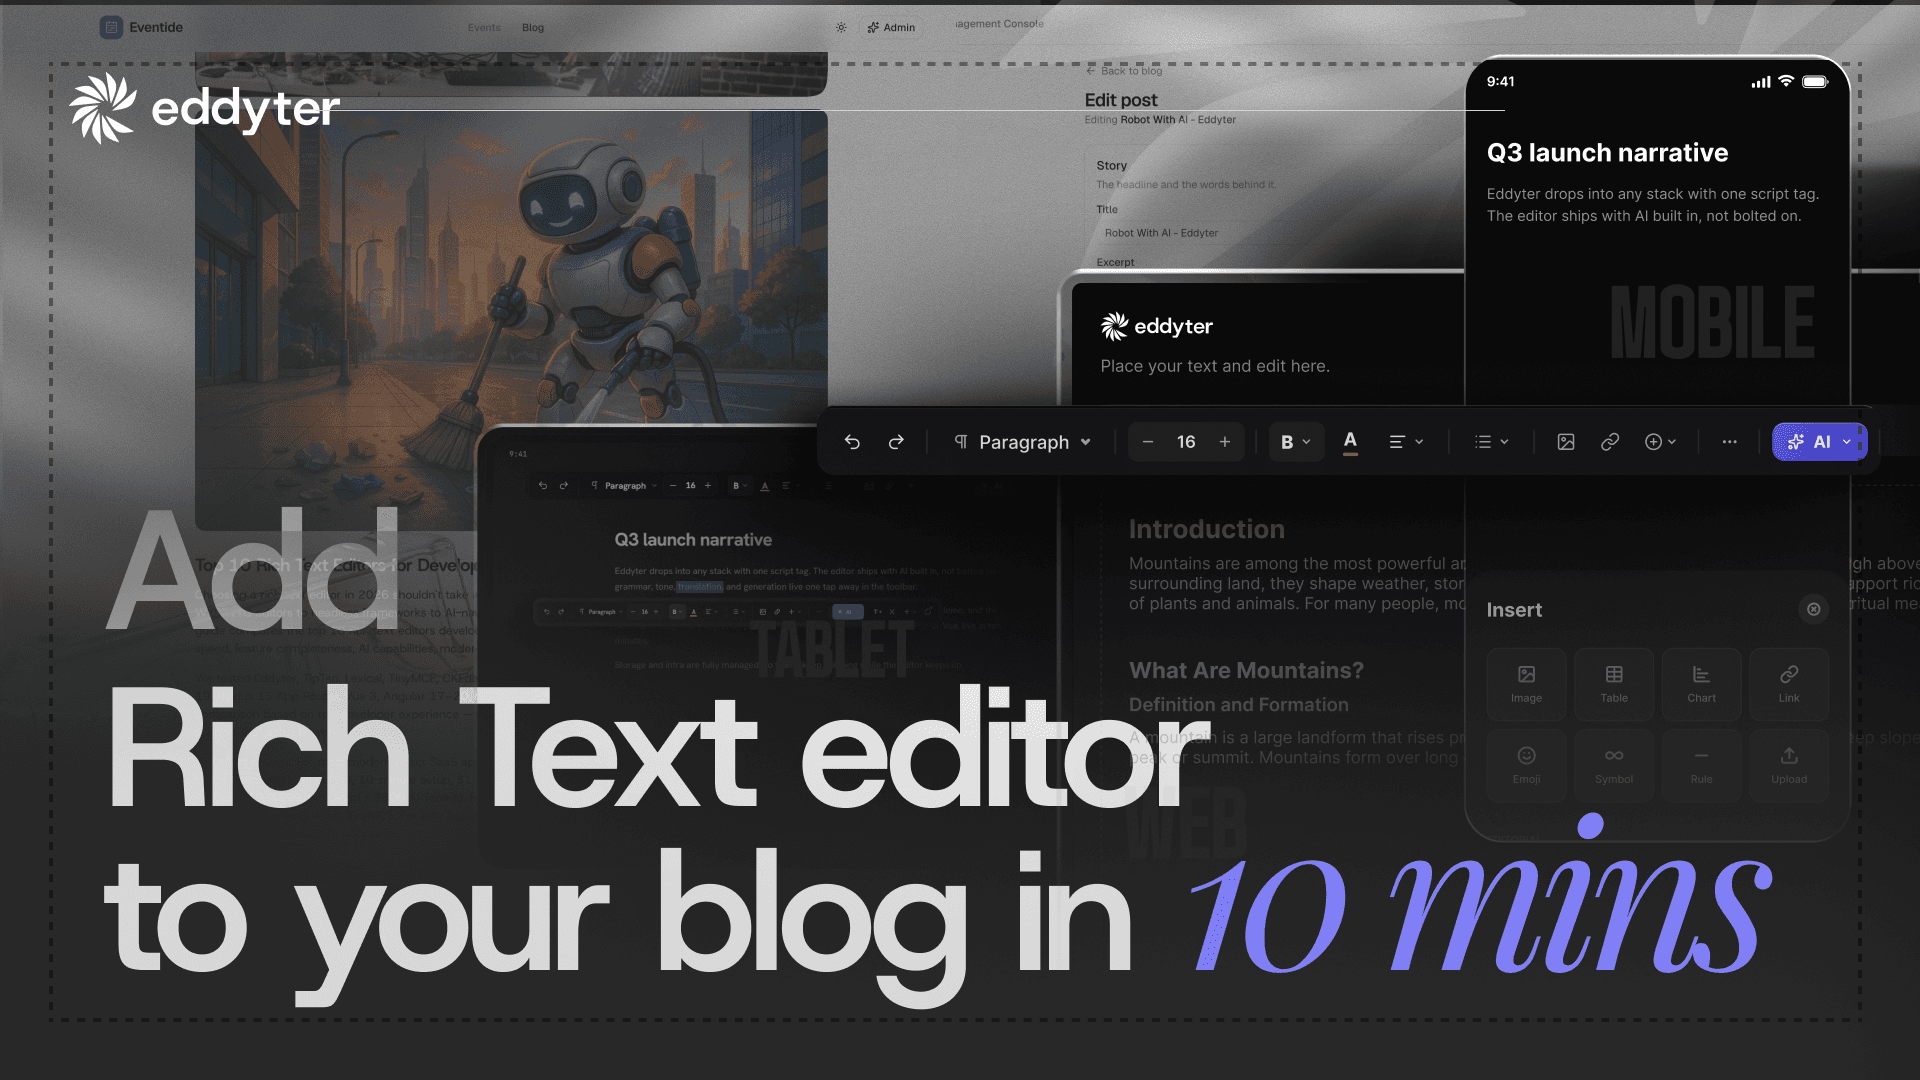
Every blog needs rich content. Most start with a textarea.
A blog rich text editor is the thing you skip on day one and regret by month three.
Here is how it goes. You build the admin. You add a post form. The body field is a <textarea>, because that is what a form gives you.
Then a writer pastes a heading. Or a list. Or an image.
The textarea keeps all of it as flat text. Your blog page prints flat text. Now you are writing a parser you never planned to write.
This video fixes that on a live blog admin. Nothing is mocked.
What the video covers
The admin is real. The posts go live. You see both versions side by side.
- Publish a post through a plain textarea, and see how it renders
- Swap that textarea for the editor
- Paste formatted content, and watch the formatting hold
- Add an image, then align it left or right
- Make an image with AI, inside the editor
- Change that image by describing the change
- Compare both posts on the live blog
Run time is 12 minutes. Setup takes about 10.
Why the rendering problem goes away
A blog rich text editor stores structure. Not a flat string.
Paste a heading and it stays a heading. Drop in an image and the alignment travels with it. Your template renders what the editor hands over.
That is where the time comes back. It is not the toolbar. You stop owning the path between what the writer types and what the reader sees.
That path is where the bugs live. A stray <div>. A list that lost its bullets. A quote that came in as plain text. Every one of those is a ticket.
What you need before you start
- A blog admin with a post form
- React, Next.js, Vue, Angular, Svelte or plain JS
- An API key
That is the whole list. There is a Laravel package on Packagist too.
bash
1
npm install eddyter
Get your key from the license key page. The docs cover the rest. Ten minutes is fair for a project that already has a blog admin.
Images, without a second tool
Most editors stop at text.
So you leave the page. You open a design tool. You export. You come back. You upload. Then you do it again for the next post.
This one makes the image in place. You type what you want. The editor draws it.
In the video I ask for a robot cleaning a city. It lands in the post. Then I change it by describing the change I want.
It is a small thing. It saves a tab switch on every post you write, forever.
What the side-by-side shows
Two posts. Same content. Same blog.
The first went through the textarea. Headings are flat. Paragraphs run together. There is no image.
The second went through the editor. Headings are headings. The image sits where it was placed. It reads like something you would publish.
Nothing changed in the blog template between them. The difference is entirely in what the field stored.
Who this is for
Anyone with a blog, a news page, a docs site, or a help centre.
If your post bodies sit in a textarea today, this is the fix. If you are about to build that form, skip the textarea step.
Teams reach for a blog rich text editor for one of two reasons. Either the writers keep filing bugs about broken formatting. Or the devs are tired of patching the render path. Both point the same way.
What building it yourself costs
You can build one. People do.
You will need paste handling. Then image upload. Then alignment. Then undo. Then a sanitiser, because someone will paste from Word. Then mobile.
None of that is hard on its own. Together it is a quarter of work that is not your product. And it never really ships, because there is always one more format someone pastes.
Under the hood
The editor runs on Lexical, the editor framework from Meta. It ships from npm.
You do not host it. You do not run the storage. You do not manage AI keys unless you want to. Plans sit on the pricing page.
Common questions
Do I have to rewrite my blog admin? No. You swap one field.
Will old posts break? No. They render as they do now. New posts get structure.
Can I use my own AI key? Yes, on the BYOK plan.
Which frameworks work? React, Next.js, Vue, Angular, Svelte, plain JS and Laravel.
Is there a free tier? Yes. Start there and move up when you need more storage.
The setup, step by step
Three steps. That is the whole thing.
First, install the package. One command.
Second, wrap your post form in the provider. One import.
Third, add your API key. Copy it from the dashboard.
The docs show the exact code. There is no build step to configure. There is no server to stand up. If your admin already has a form, you are editing one file.
What changes for your writers
They stop asking you things.
No more "why did my heading vanish." No more "can you fix the spacing on that post." No more pasting into a plain box and hoping.
They get a toolbar. They get bold, lists and links. They get images that stay where they put them.
You get your afternoon back.
After you ship it
Open one old post and one new post side by side.
Old posts render as they always did. Nothing migrates. Nothing breaks.
New posts carry structure from the first keystroke. Over a few weeks your blog fills up with the second kind.
That is the whole migration plan. There is no cutover day.
Watch the walkthrough
The full video sits above. It runs 12 minutes and covers each step in order.
Pick a blog rich text editor once. The render problem stops coming back.