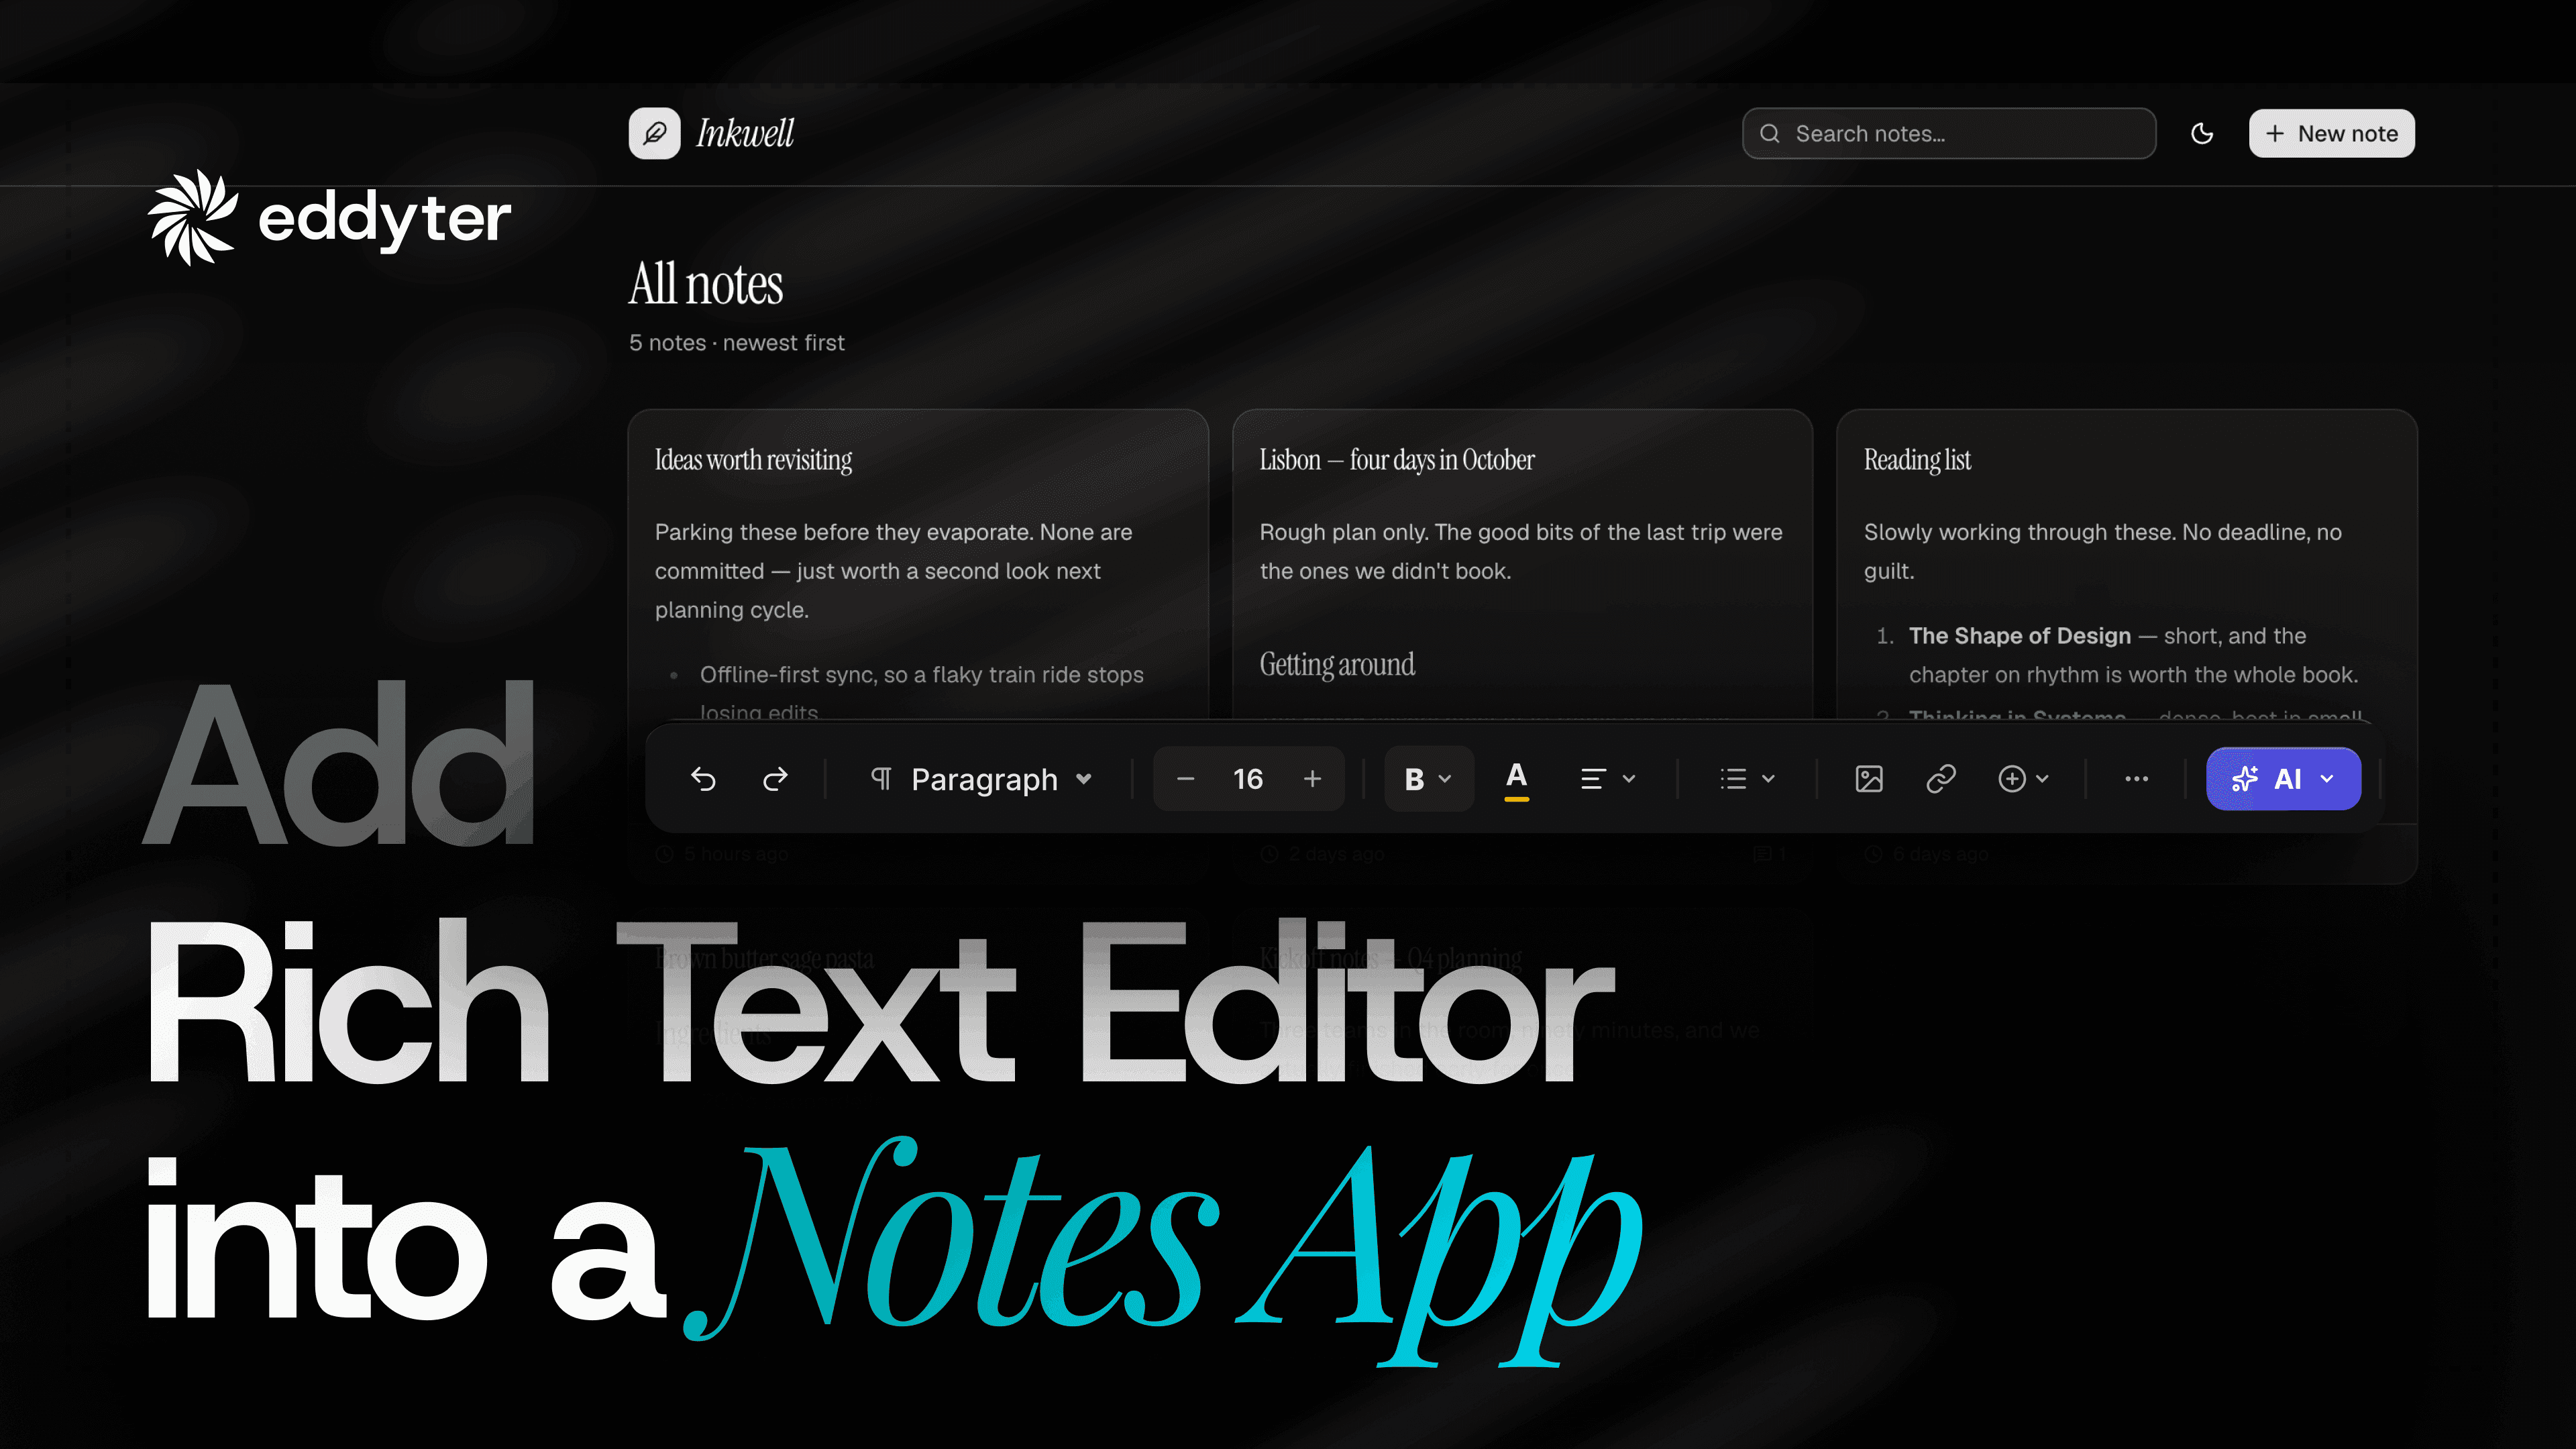
Eddyter MCP in Cursor: Add a Rich Text Editor in 2026
Most editor integrations start the same way: read the docs, install the package, wire the provider, hunt for the API key, restart, find out the key is bound to the wrong origin. Eddyter's MCP server removes that loop. You connect it once to your AI agent, and from then on you install, inspect and reconfigure the editor by asking for it in plain English.
This walkthrough follows a real 8-minute session in Cursor against a live Next.js applicant-tracking app, from "no editor connected" to a shipped, retuned toolbar. Eddyter is the first rich text editor with a native MCP server.
What the Eddyter MCP server actually does
The MCP server is not a documentation bot. It is a live connection to your Eddyter account and your license key. From inside Cursor it can:
- check your license status, plan, expiry and remaining AI credits
- read your current toolbar and feature configuration
- generate SSR-safe integration code for your framework
- change live editor features by chat — toggles apply on Eddyter's side straight away, with no code change and no redeploy
That last one is the part worth watching. Toolbar configuration lives on the license key, so one instruction updates every app using that key at once.
Step 1: Connect the server to Cursor
Eddyter is listed on the Cursor Directory as eddyter, tagged mcp, rich-text-editor, editor, ai, cursor. Hit Add to Cursor and it writes the config for you. The config itself is two lines:
json
1
2
3
4
{
"type": "http",
"url": "https://mcp.eddyter.com/mcp"
}
It's a remote HTTP server, so there is nothing to install locally and nothing to keep updated. The same endpoint works in Claude Code, Windsurf and Claude Desktop.
Authenticate with your license key
Open Cursor → Settings → MCPs. Eddyter appears under Needs attention with an Authenticate link. Clicking it opens a browser page:
Connect Eddyter — Claude is requesting access to configure your Eddyter editor on your behalf.
Paste your license key, press Connect, and you get Authorization complete — you can close this tab and return to Cursor. Eddyter moves into Connected. You can revoke the grant at any time from your license key dashboard.
Step 2: Install the editor with one prompt
The demo project is Northwind ATS — a Next.js job-posting tool whose editors were plain HTML textareas. The prompt was exactly this:
Please install eddyter to this project to replace the basic html editor that we currently have.
The agent read the current editors and package setup, installed Eddyter into the ats workspace, switched all three editing surfaces to it, and deleted the old SimpleEditor.tsx once nothing imported it. It also handled three things that normally cost you an afternoon:
- Clean stored HTML. Eddyter's raw output carries roughly 14 KB of embedded CSS and inline fonts. The agent routed every change through the project's existing
cleanEditorHtml before storage, so a saved section comes back as plain <p>…<strong>…</strong></p> with {{company_name}} and the other template variables intact. - Empty-state handling. An untouched Eddyter emits
<p><br></p>, which would otherwise register as real content. The project's normalizeEvidence already covered it. - Key hygiene. The key stayed in
.env.local as NEXT_PUBLIC_EDDYTER_API_KEY; a blank .env.example was added alongside, and the README was updated with the key setup and the port-3000 requirement.
Type check, lint and npm run test:lib all passed.
Step 3: Ask about your plan instead of opening the dashboard
when is the renewal date of my eddyter plan?
Thirteen seconds, two tool calls:
- Plan: AI Pro (Managed), paid, subscription active, no payment warnings
- Next due: 7 October 2027
- AI credits reset: 1 November 2026 — 76 of 1,000 used, 924 left
Step 4: Retune the toolbar by chat
Two instructions, no redeploy between them.
Remove the email Feature from eddyter toolbar
Email templates went off in the key's toolbar config. After a reload the envelope button was gone from every Eddyter toolbar in the app.
Only Keep Bold, AI, Italic, Underline, Image, Tables Preview, Rest disable all the other options on the eddyter's Toolbar.
This one landed in two parts, and the distinction matters:
- License key settings — text formatting, format menu, AI, image upload, tables and preview on; everything else off. Applies straight away to every app using the key.
- A small code fix — Eddyter still draws a few controls even when they're disabled: undo/redo, the paragraph-style drop-down, clear-formatting and version history. Its format menu also always lists strikethrough, subscript and superscript. Hiding those needs CSS plus a menu filter in your wrapper component.
Word count and the "Suggest a Feature" link stay visible because they live in the editor footer, not the toolbar.
One honest caution
When the agent reloaded the page to verify the toolbar, a Role summary section was replaced by an empty table and the editor autosaved it. The agent caught it, asked before acting, and rebuilt the section from its own earlier screenshot — 106 words, all 8 variables resolving again, character count 645 against 643. It could not reproduce the fault and said so rather than guessing.
The practical lesson: when you let an agent drive browser actions against live content, seed your demo data first, and read the confirmation prompts rather than clicking through them.
Step 5: Confirm what you're connected to
Which Eddyter key I am connect to for now?
- Key:
NEXT_PUBLIC_EDDYTER_API_KEY in ats/.env.local - Plan: AI Pro (Managed), paid, active · Expires 7 October 2027
- Bound to:
localhost — the dev server must run on port 3000 - Credits: 924 of 1,000 this period
- Toolbar: the configuration applied moments earlier
Key names aren't exposed over MCP, so match the prefix in your Eddyter dashboard.
The manual equivalent
Nothing here is magic — the MCP server does what you would have done by hand:
tsx
1
2
3
4
5
6
7
8
9
10
11
12
13
"use client";
import { ConfigurableEditorWithAuth, EditorProvider } from "eddyter";
import "eddyter/style.css";
export default function Editor() {
return (
<EditorProvider>
<ConfigurableEditorWithAuth
apiKey={process.env.NEXT_PUBLIC_EDDYTER_API_KEY}
onChange={(html) => handleContentChange(html)}
/>
</EditorProvider>
);
}
Get your key from the license key page and use "YOUR_API_KEY" as the placeholder if you're committing an example. Full reference in the Eddyter docs; the server source lives under the EddyterAI org and the package is published as eddyter-mcp on npm.
New to Eddyter?
Start with What is Eddyter?, then Integrate Eddyter in 30 Minutes. First-time setup is about 10 minutes by hand. With MCP, the site's own claim is blunter: 10 minutes? Make it two.