How to Integrate Eddyter in Less Than 10 Minutes (Step-by-Step Guide)
Integrating a modern rich text editor into your application shouldn't take hours — or days. With Eddyter, you can go from zero to a fully functional AI-powered editor in under 10 minutes. No complex setup. No heavy configuration. No toolbar to build from scratch.
Whether you're building a SaaS platform, CMS, blog system, CRM, or internal tool, Eddyter is designed to be plug-and-play — install the package, render one component, and you're done. This guide walks you through the exact 3-step integration, with real code examples you can copy into your app right now.
🎥 Prefer to watch? See the full integration: Integrate Eddyter in 30 Minutes Using AI Tools — Cursor, Claude, Lovable
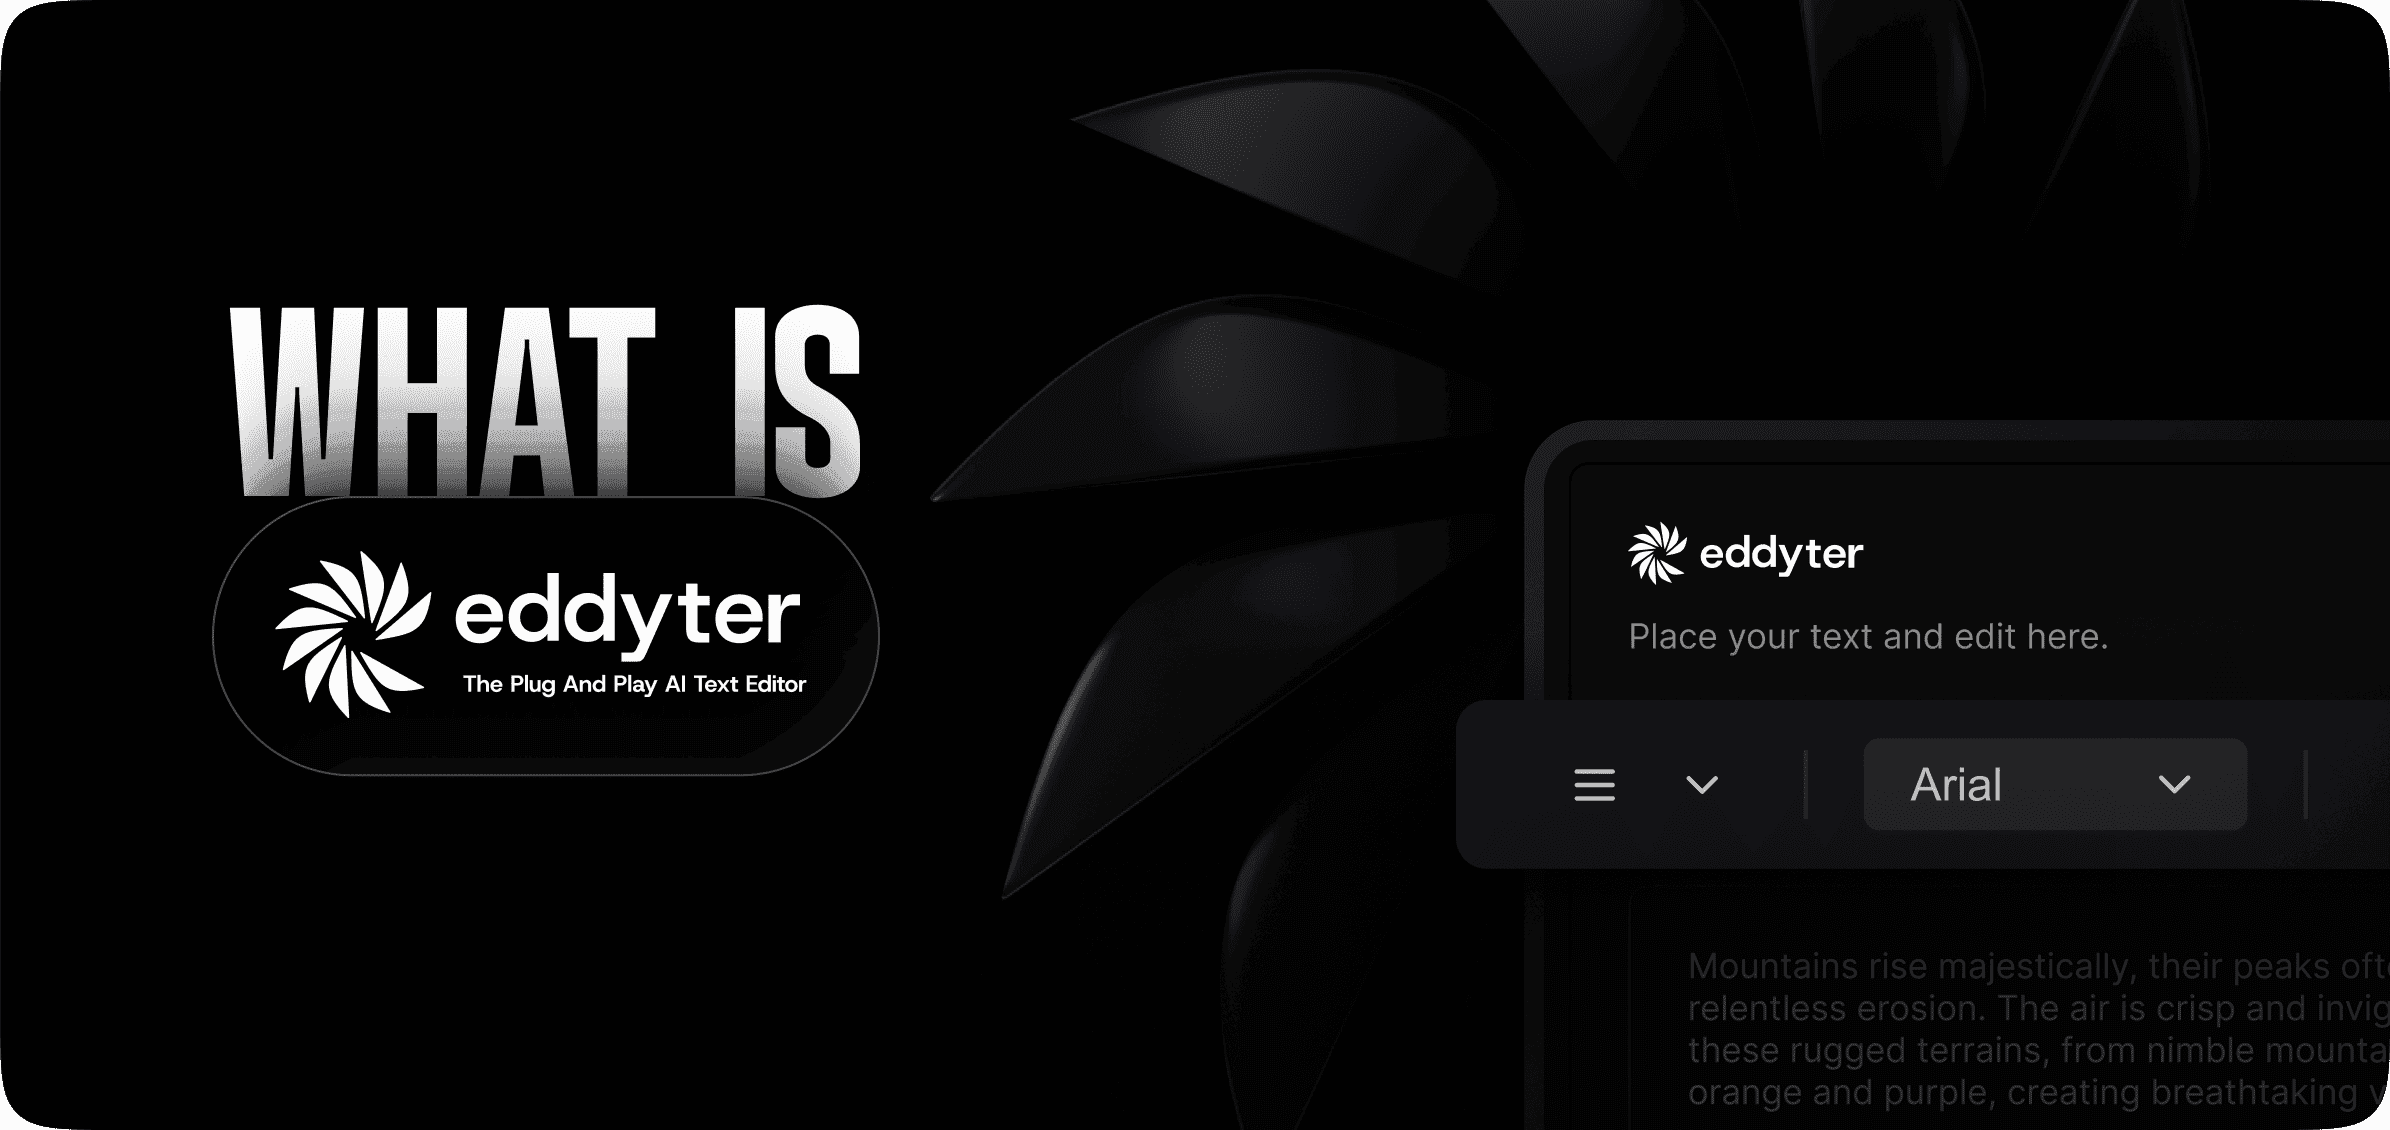
Why Choose Eddyter?
Before we jump into integration, here's why developers are switching to Eddyter in 2026:
- 🤖 AI-native editing experience — chat, autocomplete, and tone refinement built in (Premium)
- ⚡ Fast and lightweight integration — under 10 minutes from install to working editor
- 🔌 Plug-and-play setup — no complex configuration files or plugin registries
- 🏗️ Built on Meta's Lexical framework — modern, performant, future-proof
- 📱 Mobile-friendly UI — responsive and accessible by default
- 📊 Advanced tables — cell merging, column/row resizing, context menus
- 🖼️ Drag-and-drop media — image uploads with resize handles, YouTube/Vimeo embeds
- ⌨️ Slash commands — type
/ for instant formatting - 🎨 Customizable theming — CSS variables to match your brand
- 🚀 Built for modern SaaS applications — React 18.2+ and 19.x native
🎥 New to Eddyter? Watch the 2-minute overview: What is Eddyter? Why Developers Are Switching to This AI Editor (2026)
How to Integrate Eddyter in Less Than 10 Minutes
The entire integration is just 3 steps. Follow these exactly and you'll have a production-ready editor running in your app before your coffee gets cold.
Step 1 — Get Your API Key
To start using Eddyter, you'll need an API key to authenticate your editor instance.
- Sign up on Eddyter
- Navigate to your License Page: https://eddyter.com/user/license-key
- Copy your API key
- Add it to your environment variables (recommended for production)
For example, in a Next.js project, add it to your .env.local file:
bash
1
NEXT_PUBLIC_EDDYTER_API_KEY=your-api-key-here
For full API key details, refer to the official Eddyter documentation.
Step 2 — Install Eddyter
Install the core package via your preferred package manager:
bash
1
npm install eddyter
Or with yarn or pnpm:
bash
1
2
3
yarn add eddyter
# or
pnpm add eddyter
Eddyter requires React 18.2+ or React 19.x. That's the only prerequisite.
Step 3 — Basic Integration (Next.js / React)
Create an editor component and render it wherever you need rich text editing in your app:
jsx
1
2
3
4
5
6
7
8
9
10
11
12
13
14
15
16
17
18
19
20
import {
ConfigurableEditorWithAuth,
EditorProvider
} from 'eddyter';
import 'eddyter/style.css';
export default function Editor() {
const apiKey = 'your-api-key';
const handleContentChange = (html: string) => {
console.log('Editor content:', html);
// Save to state, database, etc.
};
return (
<EditorProvider>
<ConfigurableEditorWithAuth
apiKey={apiKey}
onChange={handleContentChange}
/>
</EditorProvider>
);
}
That's it. You now have a fully functional AI-powered rich text editor with formatting, advanced tables, drag-and-drop image uploads, slash commands, 20+ font families, YouTube/Vimeo embeds, and AI writing assistance — all built in.
The editor returns HTML content via onChange. Store that HTML in your database and render it anywhere in your application.
For advanced configuration (toolbar positioning, theming, read-only preview mode, custom authentication), see the Eddyter documentation.
Using Your Editor in a Page
Import and use the editor component wherever you need it in your app:
jsx
1
2
3
4
5
6
7
8
import Editor from './Editor';
export default function Page() {
return (
<div>
<Editor />
</div>
);
}
This renders the editor with the full toolbar, AI features, and authentication handled — no additional configuration required.
Real-World Use Cases
Eddyter is built for modern web applications and works across every major content use case:
- Blogging platforms — full publishing workflows with AI writing
- SaaS dashboards — user-generated content, internal notes, team documentation
- CRM notes systems — deal notes, contact histories, customer account briefs
- Documentation tools — internal and public developer docs
- Email builders — clean HTML output for email campaigns
- Admin panels — non-technical content management
- Knowledge bases — team wikis and support documentation
- CMS systems — complete content management workflows
- Educational platforms — course content and student submissions
- AI applications — prompt editing and structured AI output
Why Eddyter Is Faster to Integrate Than Traditional Editors
Most rich text editors fall into two categories, both of which slow you down:
Legacy WYSIWYG editors (TinyMCE, CKEditor) require dozens of plugin configurations, separate paid add-ons for AI, and hours of setup before you reach feature parity with modern user expectations.
Headless frameworks (TipTap, Lexical, Slate) give you the editing engine but force you to build the entire UI — toolbar, menus, bubble menus, slash commands, and every interaction — from scratch. Production-ready setup takes days to weeks.
Eddyter is different because it's:
- ✅ Complete out of the box — full UI, no toolbar building required
- ✅ No dependency overload — one npm install, no complex plugin tree
- ✅ Built-in AI features — no separate integration work
- ✅ Developer-friendly API — clean props, TypeScript-native, predictable behavior
- ✅ Managed infrastructure — no editor backend to host or maintain
This means you spend less time integrating — and more time building the features that actually differentiate your product.
Speed Comparison: Eddyter vs Other Editors
Editor | Time to Production-Ready |
|---|
Eddyter | Under 10 minutes |
Quill | ~15 minutes (basic setup, limited features) |
TinyMCE | 1–3 hours (plus plugin configuration) |
Froala | 1–2 hours (commercial license setup) |
CKEditor 5 | 2–5 hours (build configuration, licensing) |
TipTap (headless) | Days to weeks (build entire UI) |
Lexical (raw) | Weeks to months (build entire editor) |
Slate | Weeks (custom document model) |
What You Get Out of the Box
When you follow the 3-step integration above, your editor ships with all of this already working — no extra configuration needed:
Rich Formatting
- Bold, italic, underline, strikethrough, sub/superscript
- Headings (H1–H6), paragraphs, blockquotes
- Inline code and code blocks
Typography
- 20+ font families built in
- Custom font sizes
- Line height controls
Lists
- Bulleted lists
- Numbered lists (Roman, Alpha, Decimal)
- Interactive checklists
Advanced Tables
- Cell merging and splitting
- Column and row resizing
- Context menus for table operations
Media
- Drag-and-drop image uploads with resize handles
- Native YouTube and Vimeo embeds
- File attachment support
AI Features (Premium)
- Smart AI chat assistant
- Predictive autocomplete
- One-click tone refinement
Interactions
- Slash commands (type
/ for quick formatting menu) - Keyboard shortcuts (Cmd+B, Cmd+I, Cmd+K, Cmd+Z, Cmd+Y)
- Mobile-responsive touch controls
Customization
- Sticky or static toolbar
- CSS variable theming on
.eddyter-scope - Granular feature toggles
You didn't build any of this. It's just included.
Using AI Coding Tools to Integrate Even Faster
If you're using AI coding tools like Cursor, Claude, or Lovable, you can scaffold the entire Eddyter integration with a single prompt. Since the API is clean and the integration is just 3 steps, AI tools produce accurate, working code in seconds.
🎥 Watch the full AI-assisted walkthrough: Integrate Eddyter in 30 Minutes Using AI Tools — Cursor, Claude, Lovable
The combination of Eddyter's plug-and-play architecture and AI-assisted coding is the fastest path from "I need an editor" to "it's live in production" in 2026.
Common Integration Mistakes to Avoid
When integrating Eddyter, watch out for these traps:
- Importing the wrong CSS path — use
eddyter/style.css, not eddyter/dist/style.css - Hardcoding the API key — always store it in environment variables for production
- Forgetting the
EditorProvider wrapper — ConfigurableEditorWithAuth must be wrapped in EditorProvider - Using
value instead of initialContent — Eddyter uses initialContent for preloading HTML (check the docs for advanced props) - Missing
"use client" in Next.js App Router — add this directive at the top of your editor component - Skipping the license page — make sure your API key is retrieved from eddyter.com/user/license-key
Most developers hit at least one of these. The Eddyter documentation covers each in detail.
Frequently Asked Questions
How long does it really take to integrate Eddyter?
Under 10 minutes — just three steps: get your API key, install the package, and render the component. See the integration walkthrough for a live demo.
What framework is Eddyter built on?
Eddyter is built on Lexical, Meta's modern open-source editor framework. This gives it a solid, future-proof foundation with strong performance and long-term backing.
Does Eddyter work with Next.js?
Yes — Eddyter supports React 18.2+ and 19.x, including Next.js App Router. Just add "use client" at the top of your editor component file. Full Next.js setup is in the Eddyter documentation.
Do I need an API key to use Eddyter?
Yes. Get your key from https://eddyter.com/user/license-key, add it to your environment variables, and pass it as the apiKey prop on ConfigurableEditorWithAuth.
How do I save Eddyter content to a database?
Capture the HTML string from the onChange callback and POST it to your backend API. Eddyter returns clean, structured HTML on every edit — ready to store in any database.
Does Eddyter support TypeScript?
Yes — Eddyter ships with full TypeScript support out of the box, making integration even faster for TypeScript projects.
What if I want to customize the toolbar?
Eddyter supports toolbar customization through the toolbar prop (for positioning — sticky or static) and toolbarOptions (for which buttons appear). Full options are in the docs.
How does Eddyter compare to TipTap or Lexical?
TipTap and raw Lexical are headless frameworks — you build the UI yourself. Eddyter is a complete, ready-to-use editor built on Lexical, so you skip weeks of UI work. See our detailed comparison.
Is Eddyter free to try?
Yes. Eddyter has a free tier for simple projects, with paid plans starting at $12/mo for Starter. AI features are available on Premium tiers.
Does Eddyter work on mobile?
Yes — Eddyter is fully mobile-responsive and touch-friendly out of the box. No custom breakpoints or configuration needed.
Can I use AI coding tools to integrate Eddyter?
Absolutely. Tools like Cursor, Claude, and Lovable can generate the entire integration from a single prompt. See our AI coding tools walkthrough for real examples.
What happens if something breaks after integration?
Eddyter is a managed product — most issues are handled on the backend. For development issues, the Eddyter documentation covers common errors, and support is included on paid plans.
Conclusion
Integrating Eddyter into your app is genuinely simple. In under 10 minutes — just three steps — you can have a powerful, AI-native rich text editor ready for production.
If you're building a modern web application and want speed, performance, and zero infrastructure headaches, Eddyter gives you the tools to ship faster without sacrificing quality.
Start Building with Eddyter Today
Ready to upgrade your editor experience? Try Eddyter now and integrate it into your app in minutes.
👉 Try Eddyter free at eddyter.com 📚 Read the docs 🎥 Watch the intro video | Watch the 30-min integration guide