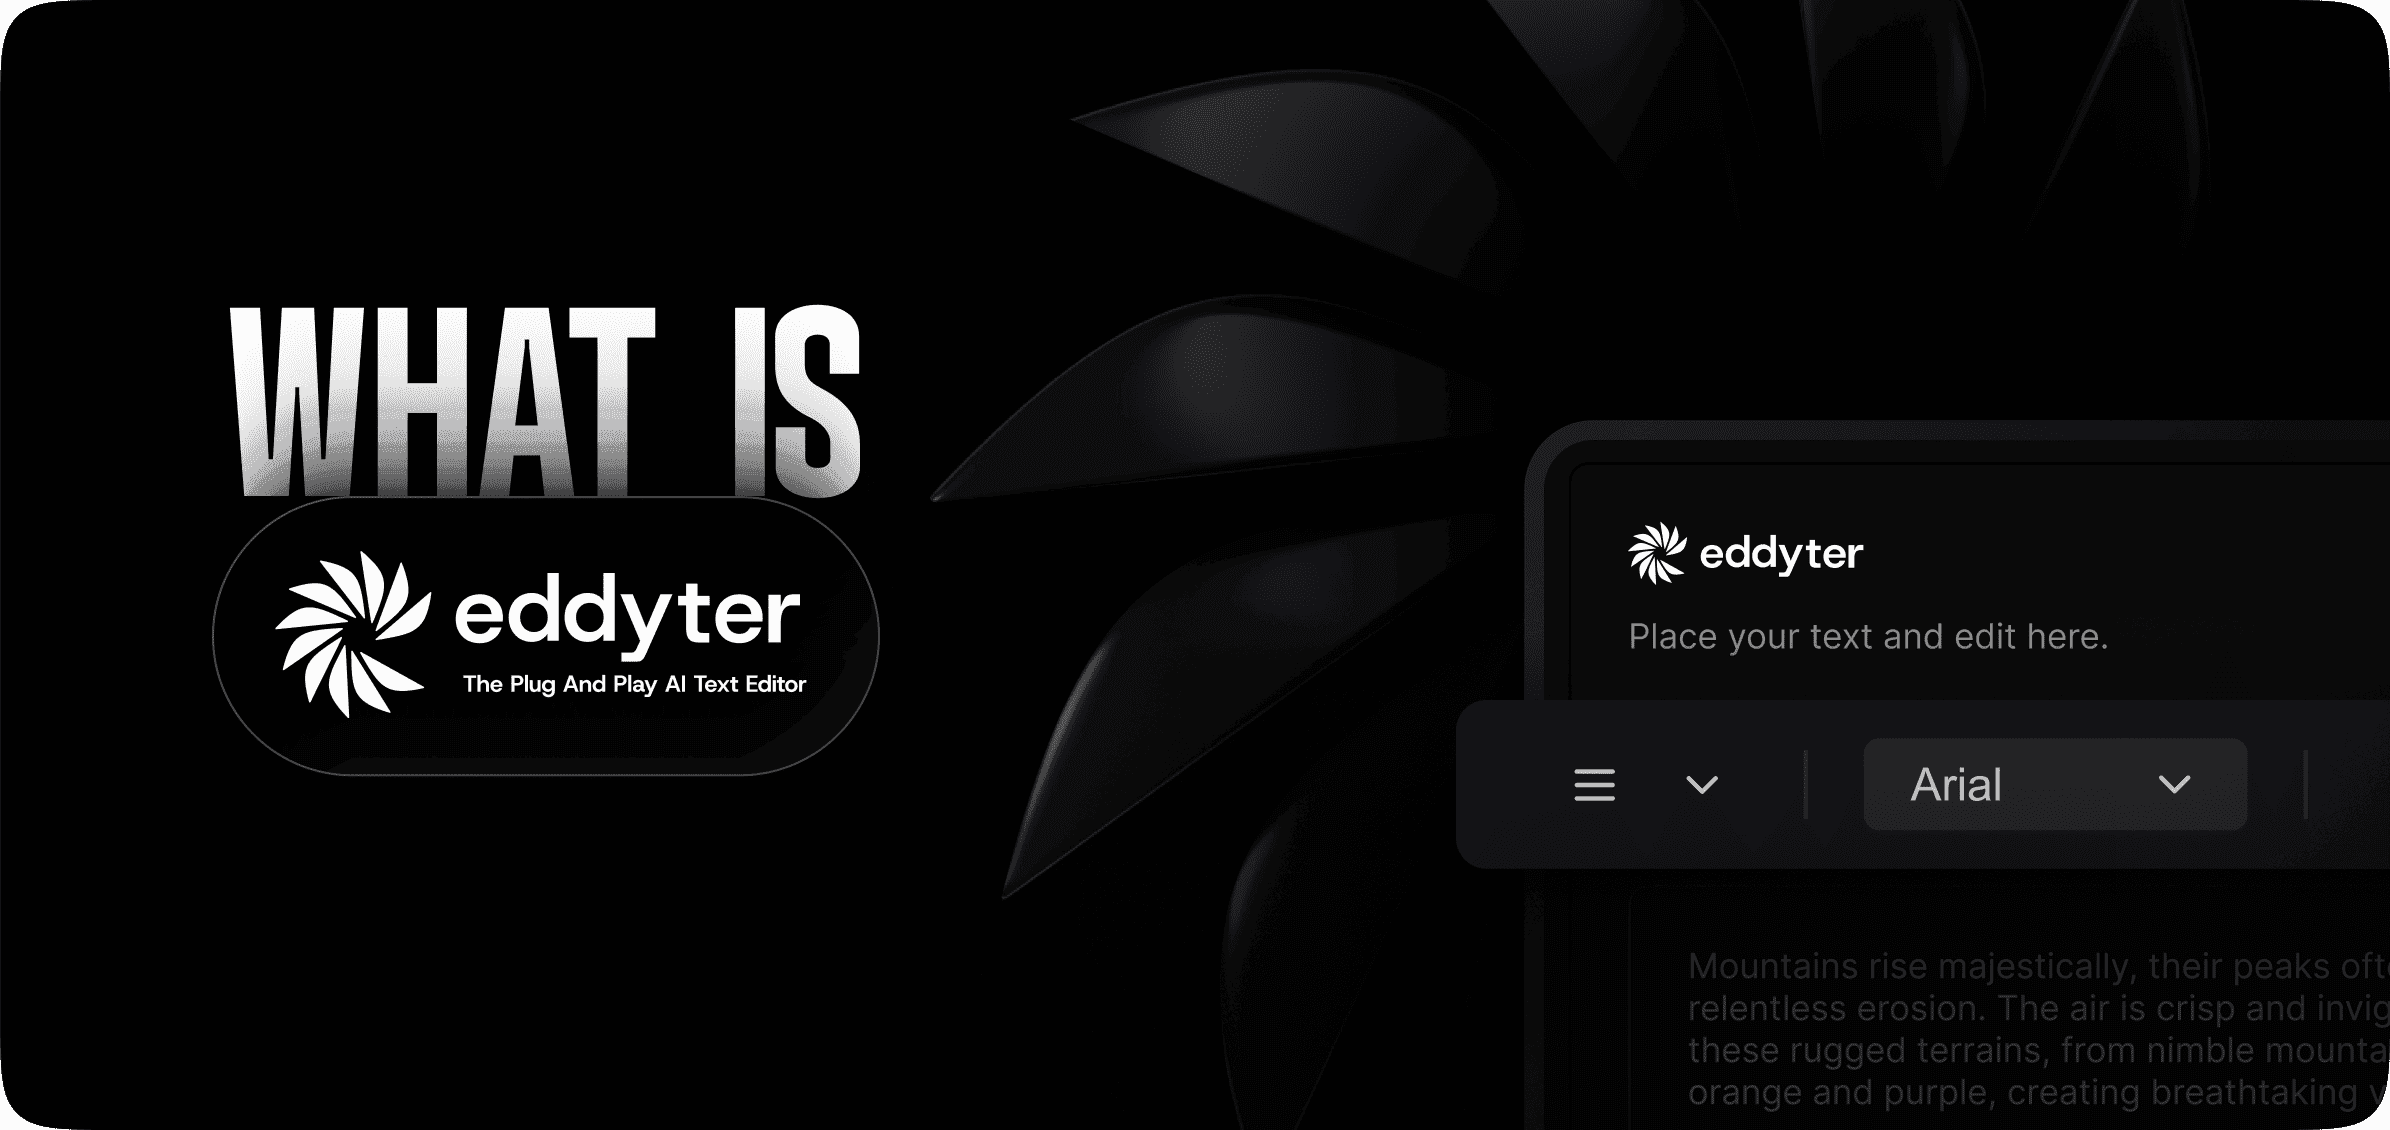
How to Integrate Eddyter with AI Coding Tools (Cursor, Claude, Copilot) in 2026
Modern development is evolving fast. In 2026, AI coding tools like Cursor, Claude, Lovable, and GitHub Copilot have fundamentally changed how developers build applications. Instead of manually writing every line of code, you can now integrate production-grade tools like Eddyter using AI assistance — cutting integration time from hours to minutes.
This guide shows you exactly how to integrate Eddyter's AI-powered WYSIWYG editor into your app using AI coding tools, with real prompts, working code, and the fastest path from "I need an editor" to "it's live in production."
🎥 See the full walkthrough: Integrate Eddyter in 30 Minutes Using AI Tools — Cursor, Claude, Lovable
What Are AI Coding Tools?
AI coding tools help developers write, debug, and integrate code faster using intelligent suggestions and agent-based workflows. In 2026, they've become a core part of most developers' daily workflow.
The top AI coding tools in 2026:
- Cursor — AI-first code editor (forked from VS Code) with deep codebase awareness, inline chat, and agent mode
- Claude — advanced reasoning assistant great for architecture, refactoring, and complex integrations
- Lovable — full-app scaffolding tool that generates working React/Next.js codebases from prompts
- GitHub Copilot — AI pair programmer integrated into VS Code and other major IDEs
- OpenAI Codex — autonomous coding agent for multi-step development tasks
All of these can generate complete, working Eddyter integration code in seconds — provided you prompt them correctly.
Why Use AI to Integrate Eddyter?
Integrating any rich text editor traditionally takes hours of reading documentation, writing boilerplate, and debugging edge cases. With AI tools, you skip most of that:
- ⚡ Faster development — 10x speed boost for boilerplate integration
- 🤖 Auto-generated code — complete setups from a single prompt
- 🎯 Fewer bugs — AI handles common patterns correctly
- 💡 Instant customization — iterate on prompts to get exactly what you need
- 🚀 Better productivity — team ships faster with less context-switching
- 🔧 Great for prototypes — go from idea to working demo in minutes
When you combine Eddyter's plug-and-play architecture with AI-generated code, the typical 2-day editor integration becomes a 10-minute task.
🎥 New to Eddyter? Watch the 2-minute overview: What is Eddyter? Why Developers Are Switching to This AI Editor (2026)
Integrate Eddyter Using AI Coding Tools — Step by Step
The actual integration is 4 steps. With AI tools, each one takes seconds.
Step 1 — Install Eddyter
Start by opening your React, Next.js, or Vite project in your AI coding tool of choice (Cursor, VS Code + Copilot, Claude, or Lovable).
Then install the package:
bash
1
2
3
4
5
npm install eddyter
# or
yarn add eddyter
# or
pnpm add eddyter
Eddyter requires React 18.2+ or React 19.x.
Step 2 — Get Your API Key
Eddyter requires an API key to authenticate the editor. To get yours:
- Sign up for an Eddyter subscription
- Go to your Eddyter dashboard
- Copy your API key
For production apps, store it in an environment variable:
bash
1
2
# .env.local (Next.js)
NEXT_PUBLIC_EDDYTER_API_KEY=your_key_here
Step 3 — Prompt the AI
This is where AI coding tools shine. Use a clear, specific prompt like:
1
2
3
4
5
6
7
Integrate the Eddyter WYSIWYG editor into my Next.js app.
Import ConfigurableEditorWithAuth, EditorProvider, and defaultEditorConfig
from the 'eddyter' package. Import 'eddyter/style.css'.
Use the "use client" directive.
Pull the API key from process.env.NEXT_PUBLIC_EDDYTER_API_KEY.
Wrap ConfigurableEditorWithAuth in EditorProvider with defaultFontFamilies and currentUser.
Handle onChange to log the HTML output.
The more specific your prompt (naming the actual components, props, and imports), the better the generated code. Generic prompts like "add an editor" tend to produce generic — and sometimes wrong — results.
Step 4 — Review and Ship the Generated Code
A well-prompted AI tool should generate something like this:
jsx
1
2
3
4
5
6
7
8
9
10
11
12
13
14
15
16
17
18
19
20
"use client";
import {
ConfigurableEditorWithAuth,
EditorProvider,
defaultEditorConfig
} from "eddyter";
import "eddyter/style.css";
export default function Editor() {
return (
<EditorProvider
defaultFontFamilies={defaultEditorConfig.defaultFontFamilies}
currentUser={{ id: "1", name: "User" }}
>
<ConfigurableEditorWithAuth
apiKey={process.env.NEXT_PUBLIC_EDDYTER_API_KEY}
onChange={(html) => console.log(html)}
/>
</EditorProvider>
);
}
Always verify:
- ✅ API key is correctly pulled from environment variables (not hardcoded)
- ✅ Dependencies are installed (
npm install eddyter) - ✅ Stylesheet is imported as
eddyter/style.css (not eddyter/dist/style.css) - ✅ Component is wrapped in
EditorProvider - ✅
"use client" directive is at the top for Next.js App Router - ✅ Props match the real Eddyter API (
initialContent not value)
That's it — you now have a fully working WYSIWYG editor with formatting, tables, image uploads, slash commands, 20+ font families, and AI assistance built in.
For advanced setups — custom toolbar, backend saves, read-only mode, theming, and more — everything is documented at eddyter.com/docs.
Prompt Templates That Work Best
Here are battle-tested prompts for integrating Eddyter with AI coding tools. Copy, adjust, and paste:
Basic integration prompt
1
2
3
4
Integrate Eddyter WYSIWYG editor into my Next.js App Router project.
Use "use client", import ConfigurableEditorWithAuth, EditorProvider, and
defaultEditorConfig from 'eddyter', import 'eddyter/style.css', and pull
the API key from NEXT_PUBLIC_EDDYTER_API_KEY env variable.
Add save functionality
1
2
3
Add a save button to my Eddyter editor component that captures
the HTML via onChange, stores it in useState, and POSTs it to
my /api/documents endpoint on click. Include loading state.
Customize the toolbar
1
2
3
Configure my Eddyter editor with a sticky toolbar at zIndex 10.
Enable text formatting, font controls, table options, AI chat,
and emoji picker via toolbarOptions. Disable HTML view toggle.
Theme to match brand
1
2
Apply custom theming to my Eddyter editor using CSS variables on
.eddyter-scope. Set the primary color to match my brand colors.
Build a document editor page
1
2
3
4
Create a document editor page in Next.js that loads a document
by ID from /api/documents/[id] using useEffect, renders it in
Eddyter with initialContent, saves on change with debouncing,
and shows "Saving..." / "Saved" status.
Pro Tips for Faster AI-Assisted Integration
After helping many teams integrate Eddyter this way, here's what actually works:
- Be specific in prompts — name exact component names (
ConfigurableEditorWithAuth), prop names (initialContent, not value), and imports. Generic prompts produce generic code. - Feed AI the docs — paste relevant sections of eddyter.com/docs into your AI tool's context window for more accurate output.
- Break tasks into steps — "integrate editor" is too broad. "Install, then render, then add save" works better.
- Always review generated code — AI tools sometimes invent props or import paths. Verify against the real Eddyter API before shipping.
- Use Claude for architecture, Cursor for implementation — Claude excels at planning the overall structure; Cursor is faster at writing and editing the actual code.
- Commit frequently — AI-generated code is faster to produce but also faster to go wrong. Small commits make it easy to roll back.
- Test the editor in-browser immediately — don't wait until the end. If the first generated code doesn't render, fix it before adding more features.
Real-World Use Cases for AI + Eddyter
This workflow is especially powerful for:
- SaaS platforms — user-generated content, internal docs, team notes
- Blog CMS builders — full publishing workflows
- Admin dashboards — internal content management
- AI applications — prompt editing and structured output
- Startup MVPs — ship editor-based products in days not months
- Knowledge bases — documentation with rich formatting
- Customer support tools — ticket notes, internal escalations
- Educational platforms — course content and submissions
In every one of these cases, AI + Eddyter lets you skip the editor infrastructure and focus on the product differentiator.
Why This Workflow Is the Future
Traditional development requires:
- Reading hundreds of pages of documentation
- Writing boilerplate code manually
- Debugging integration issues across browsers
- Maintaining the editor yourself forever
With AI coding tools + Eddyter:
- ⚡ Prompt-to-working-code in minutes
- 🎯 Less manual boilerplate
- 🚀 Immediate visual feedback
- 🧠 Focus on product logic, not editor infrastructure
This isn't just a faster workflow — it's a fundamentally different way to build. Developers who adopt AI-assisted integration in 2026 are shipping 3-5x faster than teams still writing every line manually.
Common Mistakes AI Coding Tools Make
AI tools are powerful but not perfect. Watch out for these common errors when they generate Eddyter code:
- Wrong component name — AI sometimes generates
<Eddyter /> instead of <ConfigurableEditorWithAuth />. Always verify the actual component. - Wrong CSS import path —
eddyter/dist/style.css is wrong. The correct path is eddyter/style.css. - Wrong prop name — AI might use
value instead of initialContent. Eddyter uses initialContent. - Missing EditorProvider — AI sometimes forgets to wrap the editor.
EditorProvider is required. - Wrong toolbar format — AI may generate
toolbar={["bold", "italic"]}. The actual API uses an object: toolbar={{ mode: "sticky", offset: 0, zIndex: 10 }} plus toolbarOptions for button toggles. - Missing
"use client" in Next.js — causes server component errors. Always check for this directive. - Hardcoded API key — AI sometimes puts the key directly in code. Always use environment variables.
If generated code doesn't work, ask the AI to "fix it using the official Eddyter docs at eddyter.com/docs" — that usually gets better results.
Frequently Asked Questions
How long does it take to integrate Eddyter with AI coding tools?
Most developers complete the core integration in under 10 minutes — install, API key, and a working editor rendered on screen. See the full walkthrough video for the step-by-step process.
Which AI coding tool is best for integrating Eddyter?
All major tools (Cursor, Claude, Lovable, GitHub Copilot) can handle Eddyter integration. Cursor is fastest for React component generation. Claude is best for planning architecture and complex logic. Lovable is great for scaffolding entire apps. GitHub Copilot is useful for inline suggestions. Many developers use a combination.
Do I need to know how Eddyter works before using AI tools?
Not deeply — but you should understand the basics: Eddyter is a React component wrapped in EditorProvider, uses ConfigurableEditorWithAuth, requires an apiKey, and outputs HTML via onChange. Knowing this helps you prompt AI tools effectively and verify the generated code.
What if the AI generates wrong Eddyter code?
Paste the Eddyter docs (eddyter.com/docs) into your AI tool's context and re-prompt. This often fixes hallucinated props or imports. You can also check the "Common Mistakes" section above for what to watch for.
Does Eddyter work with Cursor's agent mode?
Yes — Cursor's agent mode can handle full Eddyter integration from a single prompt. Just be specific about component names, props, and framework (React vs Next.js). See the integration walkthrough for an agent-mode example.
Can AI tools help me customize Eddyter's theming and advanced features?
Yes. Prompt the AI with specific requests like "apply CSS variables on .eddyter-scope to customize Eddyter's colors" or "add a save button using onChange." Full documentation for every advanced option is at eddyter.com/docs.
Do I need an API key for Eddyter?
Yes. Sign up for an Eddyter subscription and grab your key from the dashboard. Store it in an environment variable (e.g., NEXT_PUBLIC_EDDYTER_API_KEY) and reference it in your component — don't hardcode it.
Is this workflow safe for production apps?
Yes — with proper code review. AI-generated code is a starting point, not a finished product. Always test in your local environment, verify against the Eddyter docs, and run your existing QA processes before deploying to production.
What's the difference between using AI tools and just following the docs?
AI tools are faster for boilerplate and let you iterate on customization through natural language prompts. Docs are the source of truth for exact API details. The best workflow combines both: AI for speed, docs for accuracy.
Does this work for frameworks other than Next.js?
Yes. The same approach works for React + Vite, Create React App, Remix, and other React 18.2+/19.x setups. For non-Next.js React apps, just omit the "use client" directive.
What about if the AI has no knowledge of Eddyter?
Some AI tools' training data may predate Eddyter's current API. In that case, paste the docs directly into the context window or point the AI at eddyter.com/docs before prompting. This grounds the AI in accurate information.
Ready to Ship Faster?
Integrating Eddyter with AI coding tools like Cursor, Claude, Lovable, and GitHub Copilot is one of the fastest ways to build modern applications in 2026. You save hours of manual boilerplate, reduce bugs, and still maintain full control over your code.
If you're building a SaaS product, content platform, AI app, or any tool with user-generated content — this workflow can drastically speed up your development cycle.
👉 Try Eddyter free at eddyter.com 📚 Read the docs 🎥 Watch the intro video | Watch the 30-min integration guide